

An appropriate choice for work premises, your newest Heidi ID Card printer in Saudi Arabia is sure to be a great addition. It will upgrade your operations to a new level. It fits in easily, is sleek, and is the perfect choice for your ID printing needs. As you open your new ID card printer package, you’ll find all the accessories included, like ribbon, cards, and such. But the confusing factor is where to begin the installation process?
This guide will help you set up your printer seamlessly, whether you’re in an office, a healthcare facility, or a university. With Midad Advance having your back each and every step of the way, you’ll have your Heidi printer working in no time. At the end, after the setup, you’ll have a working printer that will provide you with everything needed for seamless ID card printing.
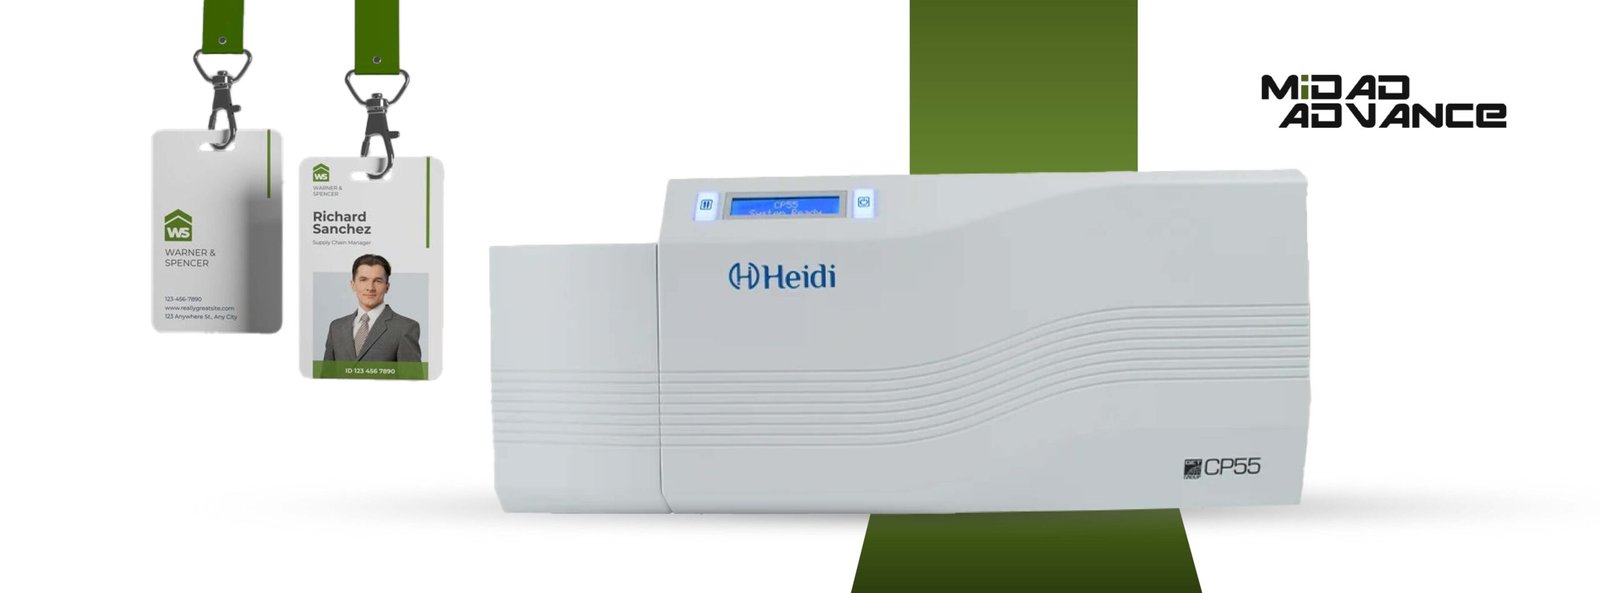
Heidi ID Card Printer in Saudi Arabia
With expertise in delivering premium ID card printers that are apt for your organization, Midad Advance will make the workplace experience easy. You’ll be able to have a never-before experience of ID card printing that is highly secure.
Heidi card printers are very much dependable, compact, and quick. With single and double-sided printing, these ID card printers will help you with both small and large amounts of printing. The added advantage here is that, when brought from Midad Advance, you’ve got endless support and service. Starting from the setup to consistent check-ups, we’ll have your back.
Reach out to Midad Advance at +966532826721 or sales@midadadvance.com for more details on Heidi ID Card Printer
Step 1: Opening the new Heidi Printer
The first obvious step would be to open the package of the ID card printer. Inside the Heidi ID card printer, there would be several components that need to be included in the installation process. This includes components like the printer unit, power cord, Adapter, USB Cable, and more.
Double check to ensure that all the parts are in the box. If something is in fact missing, immediately contact the supplier of the device. Keep in mind that being tidy and neat will speed up the process.
Step 2: Installing the Driver
For the second step of the process, what needs to be done is to install the printer driver on the system. Insert the flash drive into your computer.
If a CD drive isn’t available, drivers are available for download from the official website. Follow the on-screen instructions that are displayed as it is. Once the installation is complete, the system must be restarted to make sure that drivers are installed properly.
Step 3: Loading the Ribbon and Cards
The next step would be to load the blank ID cards and the ribbon. Make sure that the top cover of the printer is open. For that, the top cover of the printer must be open. The ribbon cartridge should be inserted in the designated slot and made sure that it is seated properly. The color-coded guides inside the printer must be focused on, and the ribbons must be aligned according to them.
Step 4: Calibrating the printer
Calibrating the printer is the next step to be done after loading the cards and ribbon. This is done to make sure that the cards are placed properly for perfect printing. As a dual-sided ID card printer, the card quality when printed is very important. This process can be done through the printer’s settings or the software available.
During this step, the printer may ask for a few test cards. Once the process is over, your Heidi printer is ready for future printings.
Step 5: Installing card printing software
In order to start printing, you need a card design software. To install the software, you need to insert the installation CD or use the flash drive. The main use of this software is that it’ll let you design and customize according to your likeness. Follow the installation steps that are given, and once it is complete, restart your system.
Tools similar to logos, photos, text, and barcodes are what’s available with this software.
Step 6: Test Print Your First Card
The next part of the process is printing your first ID card. Once the software is installed, you can continue to print the first ID card from your newest Heidi printer. The card designing software is used to create your card layout. Add the details such as photo names and other information. You can print anything according to your wish, like printing ID badges, cards and more.
Do make sure to do a test print to ensure the printer is well calibrated and the settings are correct. This precaution will let you make any necessary adjustments based on the design quality.
Step 7: Access Support from Midad Advance
If you face any issues during the setup or printing process, don’t hesitate to reach out to Midad Advance. We’ll have your back, providing you with the utmost support for Heidi ID card printers. Our experienced team are ready to help with any issues concerning maintenance, installation, and troubleshooting.
Final Thoughts
Setting up a new Heidi ID card printer is an exciting process, but it can seem complicated at times. The complications and hurdles that are faced can be solved by following these steps. You can start printing ID cards instantly by installing the driver, loading the ribbon, and using the software properly
Whatever support you need with Heidi ID card printers, Midad Advance, which is one of the best ID Card Printer suppliers in Saudi Arabia, is always available. Make sure that your printing experience is seamless with the expert team.
Reach out to Midad Advance at +966532826721 or sales@midadadvance.com for more details on Heidi ID Card Printer